Creative Designs for Halloween Cute Nails That Will Wow Your Friends
Halloween is a fun time to express your creativity, and one of the most delightful ways to do this is through cute nail designs. Whether you’re dressing up for a party, heading out for trick-or-treating, or just want to embrace the Halloween spirit, cute Halloween nails can add a festive touch to your look. Here are some creative designs for Halloween cute nails that will certainly wow your friends.
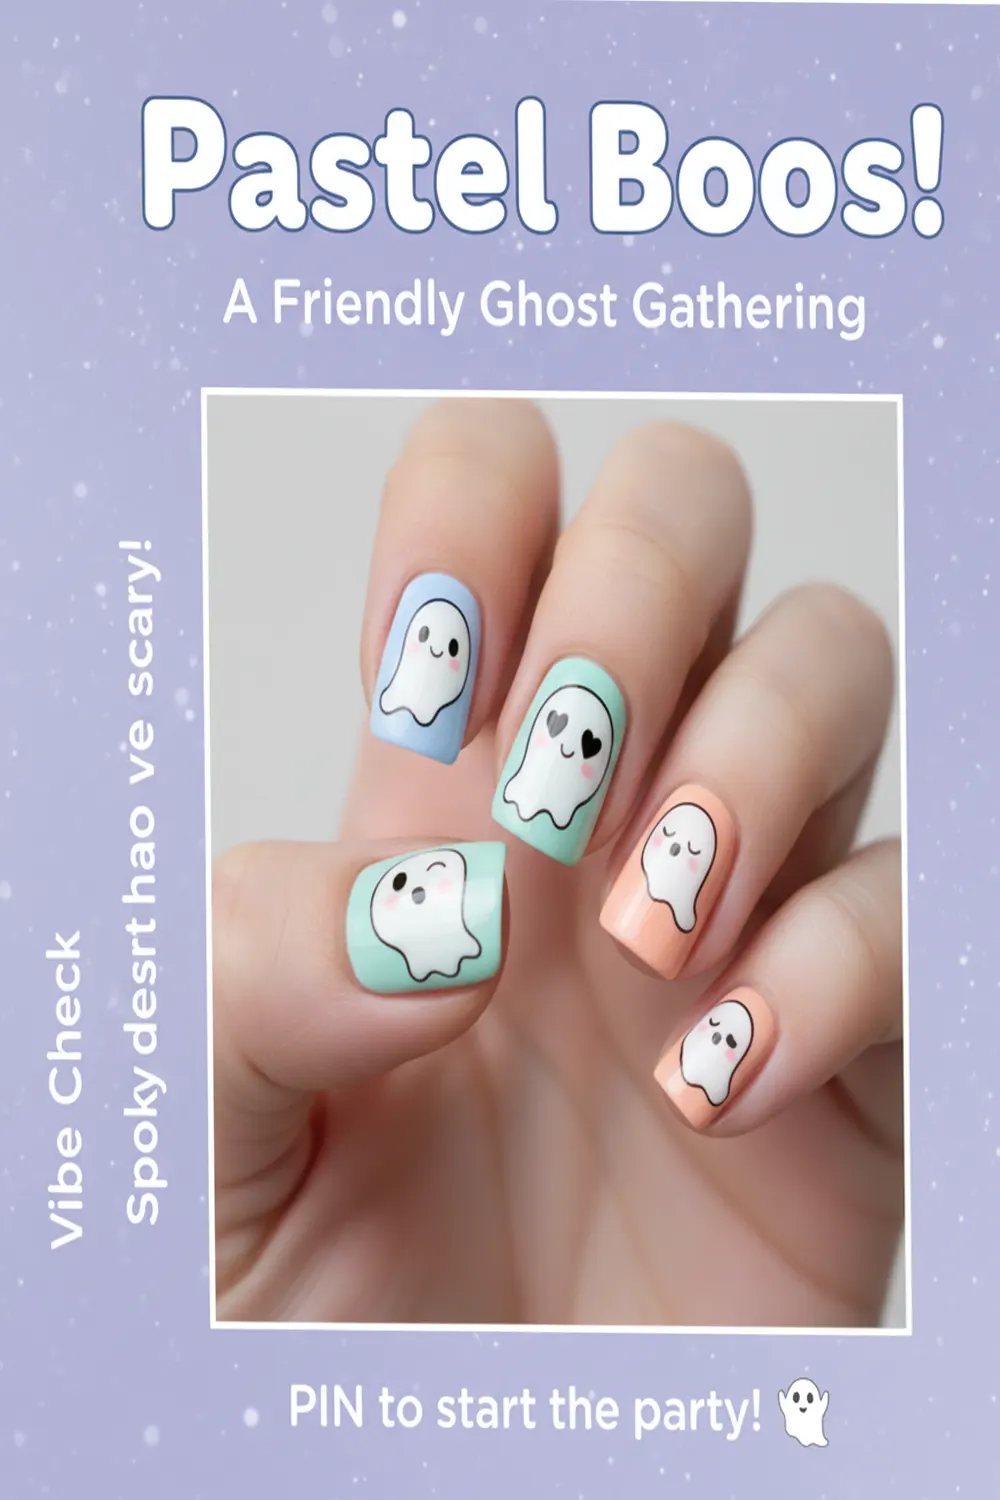
1. Ghostly Glam
Nothing says Halloween quite like adorable ghosts! For this design, use a pale lavender or glossy white base. Then, using a fine-tipped brush or a dotting tool, create cute ghost shapes on each nail. Add tiny eyes and a mouth with black polish or a tiny rhinestone. This design is simple yet effective, perfect for those who love understated elegance.
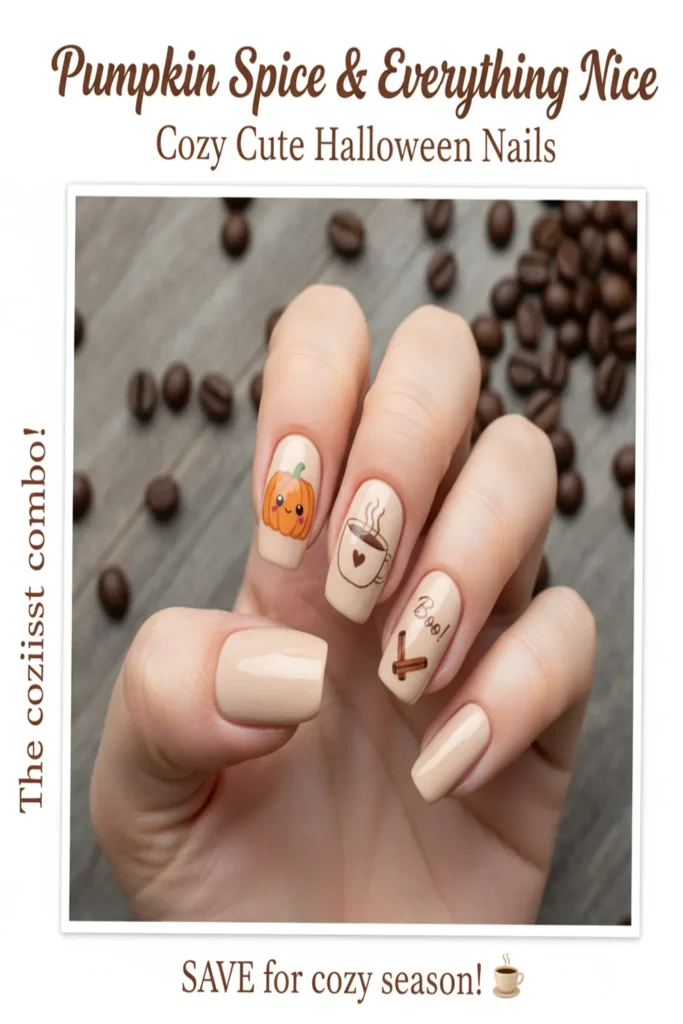
2. Pumpkin Spice Delight
Celebrate the quintessential Halloween icon, the pumpkin, with this vibrant nail art. Start with an orange base for your nails. Once it dries, use green polish for the pumpkin tops and add some whimsical facial expressions. You can also mix in glitter polish for a little extra sparkle, making your nails festive and eye-catching during the spooky season.
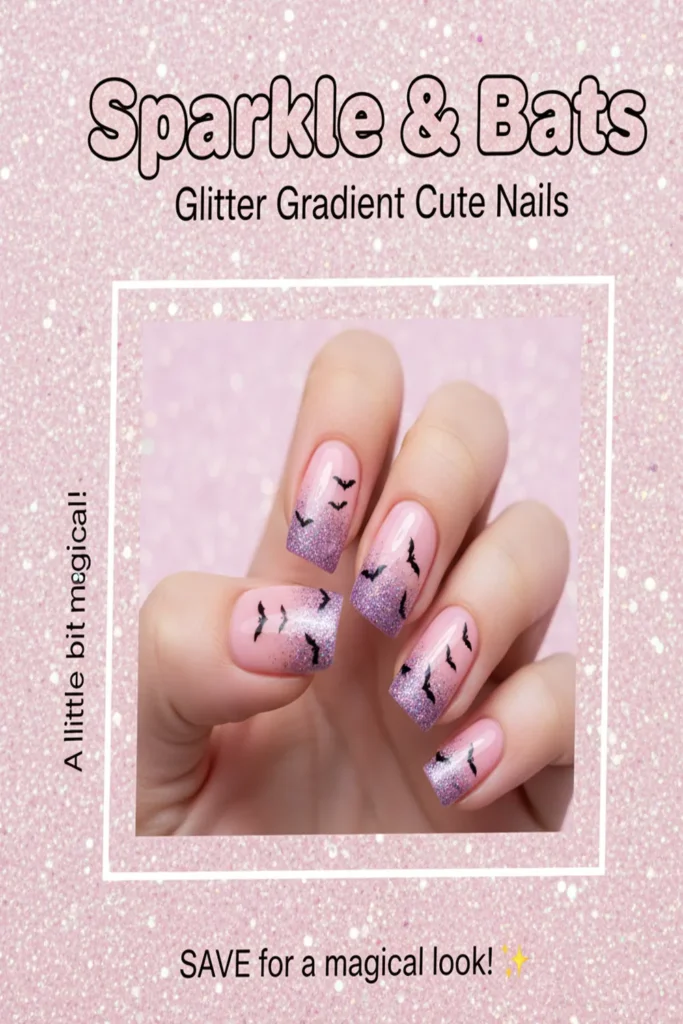
3. Batty for Nails
Bats are a classic Halloween staple. Create a night sky effect using a deep navy or black base. Once dry, use white or silver polish to paint small bat silhouettes flying across your nails. To spice things up, consider adding tiny stars or a crescent moon. This design is perfect for animal lovers looking to make a statement.
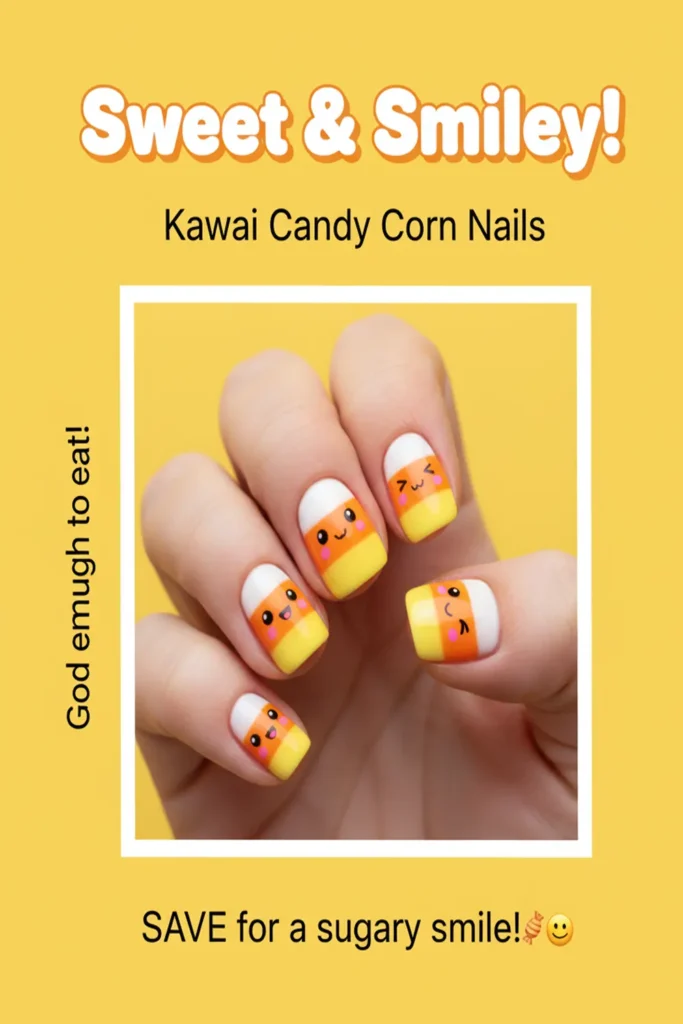
4. Candy Corn Cuties
Embrace the sweetness of Halloween with candy corn nails! Use a base of white, and then create triangular shapes at the tips with layers of yellow and orange polishes to mimic candy corn. Finish off with a glossy top coat for a shine that screams Halloween cheer. This design is truly fun and allows for a bit of color play!
5. Spooky Spider Webs
If you’re feeling a little more adventurous, opt for a spider web design. Start with a black or deep purple base coat. Once that dries, use a thin brush to create delicate web patterns emanating from one corner of each nail. You can place a small spider decal or paint one at the edge of the web to enhance the eerie effect.
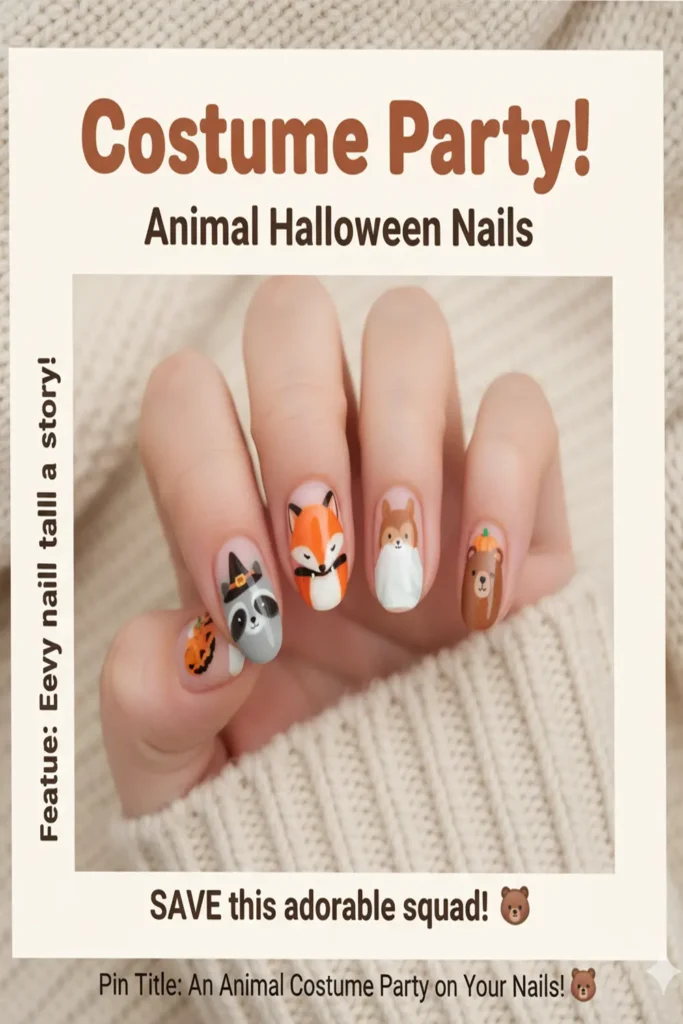
6. Friendly Frankenstein
Bring a friendly twist to the classic monster with Frankenstein nails! Use a green base for your nails and paint cute Frankenstein face designs with black hair and bolts. This cheeky look is sure to bring smiles to everyone who sees it. Plus, it’s a great conversation starter during Halloween events!
7. Magical Unicorns
Add some whimsy to your Halloween nails with colorful unicorn designs. Paint each nail with a different pastel color, and then use a fine brush to add a unicorn head on one or two accent nails. You can also use glitter to create a magical effect. This design breaks away from traditional Halloween motifs, making it unique and enchanting.
Here’s a quick list of nail art supplies you might need to create these designs:
- Nail polish (various colors)
- Dotting tools
- Thin brushes
- Rhinestones or decals
- Top coat for a glossy finish
For even more inspiration and ideas, check out websites focused on nail designs:
Making your Halloween nails cute and creative is an excellent way to boost your festive spirit. With these designs, you’ll be turning heads and making friends smile, ensuring that your nails are as memorable as your costume. Happy Halloween nail designing!
Essential Nail Care Tips for a Spooky Perfect Halloween Look
As Halloween approaches, it’s time to get creative with your look, and your nails should be no exception! Perfectly shaped and beautifully decorated nails can add the final touch to your spooky outfit. Whether you want ghosts, pumpkins, or a more abstract design, having strong nails is essential for achieving that adorable Halloween look. Here are essential nail care tips to ensure that your nails are not only festive but also healthy.
Nail Preparation is Key
Before you dive into decorative designs, make sure your nails are in good condition. Here’s how to prepare them:
- Cleanliness: Always start with clean nails. Use soap and water to wash your hands thoroughly. Remove any old nail polish with a non-acetone remover to avoid dryness.
- Trim and Shape: Trim any length you don’t want. Use a nail file to shape your nails into your favorite style—whether that’s round, square, or stiletto.
- Cuticle Care: Soak your fingers in warm water for a few minutes. Gently push back your cuticles and trim them if necessary. Healthy cuticles promote healthy nails!
Moisturize for Healthy Nails
Just like your skin, your nails require moisture. Weak nails are more prone to breakage and are harder to paint. Here’s how to moisturize effectively:
- Nail Oil: Consider using a nourishing nail oil. Brands like [Sally Hansen](https://www.sallyhansen.com) offer great options that hydrate nails and cuticles.
- Hand Cream: Daily hand cream application can do wonders. Look for creams with shea butter or coconut oil for deep moisturization.
Base Coat is Essential
A base coat not only helps your nail polish last longer but also protects your nails from staining. Choose a good quality base coat—this step is especially important for darker Halloween colors like black or deep purple.
Get Creative with Designs
Now for the fun part! Here are some ideas for Halloween cute nails:
- Ghostly Whites: Paint your nails white and use a black dotting tool to create ghost faces.
- Pumpkin Spice: A pumpkin orange with a green accent nail can be festive. Add tiny black dots for a more creative touch.
- Batty Black: Utilize a black polish with a matte topcoat. Add little bat decals or hand-paint them on for added charm.
- Sparkly Night: A dark blue or purple base with glitter can mimic a starry Halloween sky.
Choose Non-Toxic Nail Products
Many nail polishes contain harmful toxins that can weaken your nails. Aim for “3-free” or “5-free” polishes, which lack the most harmful chemicals. Brands like [Zoya](https://www.zoya.com/) offer amazing colors while keeping your nails safe.
Aftercare is Important Too
Once your Halloween fun is over, it’s vital to take care of your nails post-celebration:
- Remove Carefully: Use a gentle nail polish remover. Avoid being harsh as it can lead to brittle nails.
- Rehydrate: After removing polish, apply cuticle oil and moisturizer to restore hydration.
Stay Hydrated
Remember that hydration starts from within. Drink plenty of water to keep your nails (and skin) looking healthy!
Maintain Balanced Nutrition
Your diet plays a significant role in nail health. Include foods rich in biotin, like eggs, nuts, and fish, which promote strong nails. Aim to consume a balanced diet filled with vitamins and minerals.
Regular Maintenance
To keep your nails in prime condition, establish a regular maintenance routine:
- File your nails weekly to keep them smooth.
- Moisturize daily for healthy cuticles and nails.
- Schedule manicures regularly to give your nails that extra care.
By following these essential nail care tips, you can ensure that your nails not only look fabulous but are also strong and healthy this Halloween season. Enjoy decorating your nails and showing them off while trick-or-treating or attending Halloween parties!
For more inspiration and ideas on nail designs for Halloween, check out [Nail Art Gallery](https://www.nailartgallery.com)!
Step-by-Step Guide to DIY Halloween Nail Art for Beginners
Halloween is a magical time of year filled with costumes, candy, and fun spooky decorations. One delightful way to celebrate this festive season is to create your Halloween nail art. If you’re a beginner, don’t be intimidated! This step-by-step guide will walk you through crafting cute Halloween-themed nails that are sure to impress.
Gather Your Supplies
Before diving into your Halloween nail art, you’ll need to gather a few essential supplies. Here’s what you’ll need:
- Nail polish remover
- Base coat
- Top coat
- Colorful nail polishes (orange, black, white, purple, and green)
- Fine nail art brushes or dotting tools
- Nail stickers or stencils (optional)
- Makeup sponge
- Paper towel
- Small bowl
Prepare Your Nails
Start by preparing your nails. This process ensures that your Halloween nail art will last longer and look fabulous:
- Remove old polish: Use nail polish remover to take off any old nail polish.
- Shape your nails: Clip and file your nails into your desired shape, whether it’s square or round.
- Apply base coat: Protect your nails by adding a clear base coat. This helps prevent staining and allows for smoother polish application.
Create Your Base Color
Next, decide on the base color for your nails. Classic Halloween colors are orange and black, but you can choose any color that fits your style:
- Apply two coats of your chosen base color, allowing each coat to dry completely.
- If you want a gradient effect, use a makeup sponge to dab on colors for a blended look.
Add Fun Halloween Designs
Once your base color is dry, it’s time to get creative with your Halloween designs. Here are a few simple ideas to get you started:
- Jack-O-Lantern Faces: Use a fine nail art brush to paint pumpkin faces on orange nails. Simple triangles for eyes and a toothy grin work perfectly!
- Ghosts: Use white polish on a black background. Dip a dotting tool for small ghost shapes and a nail art brush for spooky eyes.
- Spider Webs: On a dark nail, use a thin brush to create web patterns. Start from a corner and work your way to the tip, adding small lines for a more realistic look.
- Witch Hats: Use a small brush to create hats on green or purple nails. A simple triangle with a tiny brim can look cute!
Finishing Touches
With your designs in place, it’s important to seal your artwork:
- Allow your nail art to dry for a few minutes.
- Apply a glossy top coat over your design. This adds shine and protection, keeping your Halloween nails looking fresh.
Cleanup and Care
After your nails are finished, clean up any messy edges. Use a small brush dipped in nail polish remover to tidy up around your cuticles. To maintain your nail art, avoid soaking your hands in water. Be gentle when washing dishes or using cleaners.
Showcase Your Halloween Nails
Once you’ve completed your Halloween nails, don’t forget to show them off! Snap pictures, share on social media, or even host a nail art party with friends. For some inspiration, you can explore Nail Art Gallery for more creative designs.
Now that you have a step-by-step guide to creating cute Halloween nails, you can get started on your fabulous nail creations. Don’t forget to have fun and let your personality shine through your art!
For even more nail art tips and tricks, check out Nails Magazine. Happy Halloween nail painting!
Trending Halloween Nail Colors and Patterns for 2023
When October rolls around, the excitement for Halloween begins to spark creativity in every detail of the season. Your nails can be a fantastic canvas for expressing festive cheer. As 2023 approaches, several nail colors and patterns have emerged as trending choices that are sure to add a spooky yet cute touch to your Halloween celebrations.
Bold and Festive Colors
This Halloween, some colors have stolen the limelight for their vibrancy and spirit. Here are the top hues to consider:
- Pumpkin Orange: A classic choice that embodies Halloween, pumpkin orange pops against any skin tone.
- Emerald Green: This rich hue adds a touch of elegance and mystery, perfect for those who want a slightly sophisticated look.
- Vampire Red: Dark, blood-red shades create an edgy vibe that pairs beautifully with Halloween costumes.
- Midnight Black: Always a favorite, black is versatile, allowing for numerous nail art designs while maintaining that spooky feel.
- Deep Purple: This color is a great alternative to black, offering depth and a hint of mystique.
Patterns to Elevate Your Halloween Nails
Color is one key element, but the patterns you choose can take your Halloween nails to the next level. Here are some popular designs making waves this year:
- Ghosts: Simple white ghosts painted on dark nails can be both cute and spooky.
- Spider Webs: Painted in black over a bright color, this design adds a classic Halloween scare.
- Pumpkins and Jack-o’-lanterns: Cute, painted pumpkins bring a fun and playful essence to your nails.
- Skulls: Tiny skulls in white against a dark background lend a chic yet edgy look.
- Frankenstein’s Monster: Use green and black to create quirky monster faces for a playful catch.
Unique Textures and Finishes
As trends evolve, the finish of your nail polish also plays a role in your Halloween manicure. Consider the following styles:
- Matte: This contemporary finish gives a modern touch to any color, especially when paired with nail art.
- Metallic: Shimmering finishes add an eye-catching effect, perfect for vibrant Halloween colors.
- Glitter: For a sparkly take on Halloween, consider sparkles over darker colors to mimic starry nights.
Creating Cute Halloween Nail Art
If you’re hands-on with nail art, here are ideas for how to get creative:
- Nail Stickers: Easy to apply, these can instantly add characters, ghosts, or spooky symbols to your design.
- Dotting Tools: Use these tools to create polka dots or tiny creatures on your nails.
- Striping Tape: This can help with creating clean lines for web patterns or multi-color designs.
Capture Inspiration Online
For those seeking inspiration, many websites offer beautiful designs and tips for your Halloween nails. Websites such as Nail Art Gallery and Instagram can be great resources. Utilize these platforms to discover trending designs that resonate with your style.
Stay Trendy This Halloween!
As you prepare for the spooky season, let these trending colors and designs inspire your Halloween nail art. Make them functional yet fun for parties, gatherings, or simply to embrace the spirit of Halloween. There are no limits to creativity, so don’t hesitate to mix and match colors, patterns, and finishes to find the perfect look for you this Halloween.
How to Choose the Right Halloween Nail Accessories and Tools
Choosing the right Halloween nail accessories and tools can transform your nail art into a festive masterpiece. With so many options available, from spooky designs to cute additions, making the right selections ensures your nails stand out during this spooky season. Here are some tips to guide you in picking the best accessories and tools for your Halloween nails.
Understanding Your Design Goals
Before diving into the accessories, it’s essential to have a clear idea of what you want your nails to look like. Are you aiming for something cute, spooky, or a combination of both? Keep these considerations in mind:
- Theme: Decide if you lean towards cute characters, classic horror motifs, or playful designs.
- Color Palette: Halloween colors like orange, black, purple, and green can set the tone.
- Complexity: Simple designs can be just as impactful as intricate ones.
Essential Tools for Halloween Nail Art
Having the right tools is crucial for achieving the perfect Halloween nail art. Here are some essential tools you should consider:
- Nail Polish: Quality nail polish in a range of Halloween colors is a must. Look for brands that offer vibrant and long-lasting shades.
- Nail Art Brushes: These come in various sizes for fine details or broader strokes. They are perfect for creating intricate designs.
- Nail Stencils: If you want to create shapes like pumpkins or ghosts easily, consider using nail stencils.
- Glitter and Foils: No Halloween design is complete without a touch of sparkle. Glitter and foils can take your design to the next level.
Choosing Accessories for Halloween Nails
Your choice of accessories can add personality and flair to your Halloween nails. Consider incorporating:
- Nail Stickers and Decals: These are perfect for those who want to add detailed designs without the effort of painting them. Look for Halloween-themed options, such as ghosts, spider webs, and bats.
- 3D Nail Charms: Cute charms like candy corn, mini pumpkins, or witches can create a playful and eye-catching look.
- Gemstones and Rhinestones: These add a luxurious touch and can be used to create spooky, shimmering designs. Be careful to choose ones that complement your overall theme.
Getting Creative with Combo Kits
If you’re unsure where to begin, consider purchasing a Halloween nail art combo kit. These kits typically include everything you need and are a great way to save time and money. Look for kits that feature:
- A variety of nail polishes in different Halloween shades
- Nail tools like brushes, dotters, and stencils
- A selection of stickers, decals, and 3D charms
Where to Find Quality Accessories and Tools
For the best selection of Halloween nail accessories and tools, shop online. Websites like Nail Supply Glam and Sally Beauty offer comprehensive options tailored to your festive needs. Always check reviews to gauge the quality and effectiveness of products.
Practical Tips for Application
As you prepare to create your Halloween nail design, keep these practical tips in mind:
- Start with clean and dry nails for smooth application.
- Use a base coat to protect your nails from staining.
- Layer your nail art for dimension, allowing each layer to dry before adding more.
- Finish with a top coat to seal your design and enhance durability.
With these tips and tools, you are ready to craft the cutest Halloween nails! Let your creativity shine and enjoy the process of making your nails festive and fun for the spooky season.
Key Takeaway:
Halloween is the perfect time to express your creativity, and cute nails can be a fun part of your festive celebrations. This article covers a variety of key topics to help you nail your Halloween look this year.
First, we delve into Creative Designs for Halloween Cute Nails That Will Wow Your Friends. From adorable pumpkin faces to playful ghost motifs, these designs will not only showcase your festive spirit but also make your friends admire your nail art skills. The designs span a range of styles, catering to both simple and complex preferences, ensuring that everyone can find their ideal Halloween nail art.
Next, it’s essential to prioritize Nail Care Tips for a Spooky Perfect Halloween Look. Healthy nails form the foundation of any eye-catching nail art. We highlight vital tips that include moisturizing your cuticles, using quality polish, and maintaining nail hygiene. These practices will not only improve your nails’ appearance but also prolong the lifespan of your Halloween designs.
For beginners or those looking to try their hand at nail art, our Step-by-Step Guide to DIY Halloween Nail Art will serve as a practical resource. We provide straightforward instructions that simplify the process, making it accessible for all skill levels. You’ll find helpful hints and techniques for applying nail polish, using nail art brushes, and applying topcoats to add that extra shine!
In this guide, we also explore Trending Halloween Nail Colors and Patterns for 2023. Bold oranges, deep purples, and glossy blacks are making the rounds this Halloween season. Patterns like spider webs, candy corn stripes, and friendly monster faces will be highlights. You’ll be equipped with the knowledge to choose trendy color combinations that will keep your nails looking fresh and chic!
We address how to Choose the Right Halloween Nail Accessories and Tools. Whether it’s glitter, stickers, or nail stencils, having the proper tools can significantly enhance your nail art. This section provides insights into must-have accessories and tips on where to find them.
This article arms you with everything you need to create stunning Halloween cute nails. By incorporating creative designs, maintaining healthy nail care practices, following easy DIY guides, choosing the right colors, and utilizing essential tools, you will surely impress your friends this Halloween season! Get ready to dive into the spirited season with style and creativity at your fingertips!
Conclusion
As Halloween approaches, there’s no better time to showcase your creativity with cute nail designs that truly capture the spirit of the season. Whether you opt for playful ghosts, charming pumpkins, or intricate spider webs, the possibilities are endless. With the essential nail care tips provided, you can ensure your nails not only look fantastic but also stay healthy throughout the festivities.
For those eager to dive into nail art, our step-by-step guide makes it easy for beginners to create eye-catching Halloween designs right at home. Remember, practice makes perfect, and each attempt will enhance your skills and confidence. With trending colors and patterns for 2023 in mind, explore bold shades and unique designs that complement your Halloween costume and personal style.
Choosing the right accessories and tools is key to achieving that professional look. High-quality nail polishes, brushes, and embellishments can elevate your DIY efforts and allow you to express your personality. Don’t be afraid to experiment and mix and match elements from different designs and ideas.
With these insights, you’re now equipped to impress friends and family with your stunning Halloween nails. Enjoy the creative process and let your personality shine through each design. Happy Haunting!